| The Department of Computer Science & Engineering |
CSE 111: Great Ideas in Computer Science |
Displaying images and inspecting pixels:
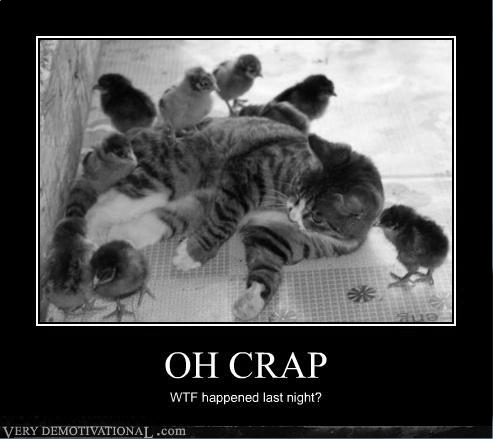
JES has great built in functions for loading and displaying images. We will be making heavy use of them today in modifying images. The first thing we'll do load an image and display it to the screen. We'll use the one below for these examples:
To load an image, we want to choose a file, format the file into a picture format that Python can understand (remember, data is stored as 0's and 1's - we need to make it explicit what data we have!), and put that in a variable:
This first shows the pickAFile dialog box which allows us to choose a file from our computer. The pickAFile() function returns the file itself to the makePicture function, which formats it properly for Python. Now we can go ahead and display it to the screen:
Now that we have an image, we should see what we can find out, and change about it. We know that images are made up of pixels, so we should be able to access a pixel and see what it contains. We can do this by using the getPixel function. This function takes 3 arguments- the image, and x and y coordinates.
We can print the pixel to the console to see what it contains:
Remember a pixel is made up of red, green, and blue components. As we expected, the top left pixel (which is black) has RGB value (0, 0, 0). We write (0, 0, 0) to mean (red=0, green=0, blue=0).
We can also get the individual RGB components from the pixel as follows:
>>> print getRed(pixel)
0
>>> print getGreen(pixel)
0
>>> print getBlue(pixel)
0
Similarly, we can use setRed and other analogous functions to set the value of a color component of a pixel:
This sets the red portion of the pixel to be completely 'on.' If we asked JES to show us the image again, we would (just barely) notice the top left corner has a red dot in it. Instead of setting each component individually a bunch of times, you can also create a color and set the pixel to that color:
This example sets the intensity of the red, green, and blue components each to 127. That color should be halfway between white and black, therefore grey.
Note that this image contains over 200,000 pixels... changing just one doesn't do much for us!
Adjusting the tint of an image:
We can change a single pixel that way, and sure, we could do it for every pixel individually - but that would be kind of crazy! This is the point where you should begin thinking that maybe a loop is a good way to make changes to every pixel. We also probably don't want to replace a color completely with another, we want to modify what's there somehow.
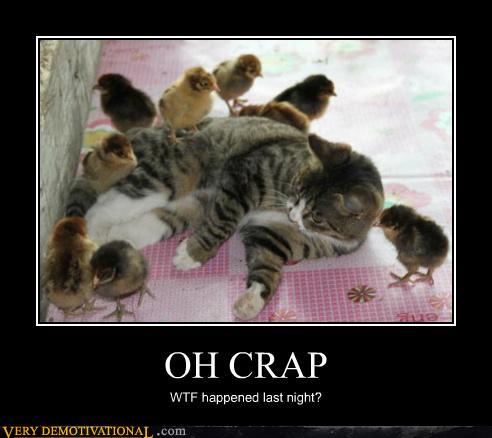
We're going to try to change the tint of an image, more specifically we're going to reduce the amount of blue in the image by 50%. In order to do this for every pixel we'll want to do it inside a for loop. We can use the function getPixels to get an array containing all of the pixels in the image and loop through that. Let's try it:
What we did here was for each pixel in the image we got the current amount of blue, halved it, and set that value as the blue value in the pixel. Let's see what it does to our image:
As you can see the image seems very yellow and red, which is what we expected with less blue!
In-Class Exercise: Write a function which makes an image 50% more red. You might want to start by making one that's 50% less red, then modify it further to make it more red.
Darkening an image:
In order to darken an image, we want to decrease the value of each of the color components of each pixel. We know this is the case since in RGB (0, 0, 0) is black and (255, 255, 255) is white. As pixels get values closer to 0, they get darker, and closer to 255 they get lighter.
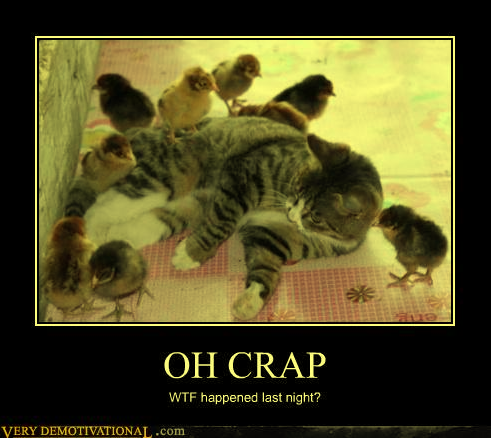
Our function makes the image 50% darker. Lets run it and take a look at our image again:
and notice that it is, in fact, darker!
In-Class Exercise: Write a function to make an image 50% brighter.
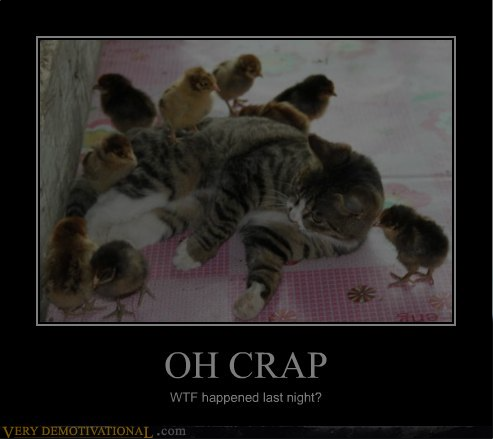
Making an image greyscale:
def greyscale(picture):
We used the makeColor function we used earlier to prevent us from having to set the red, green, and blue components separately. This only saves us a little typing and could be done either way!